How to Set Up an RV at a Campsite for the First Time
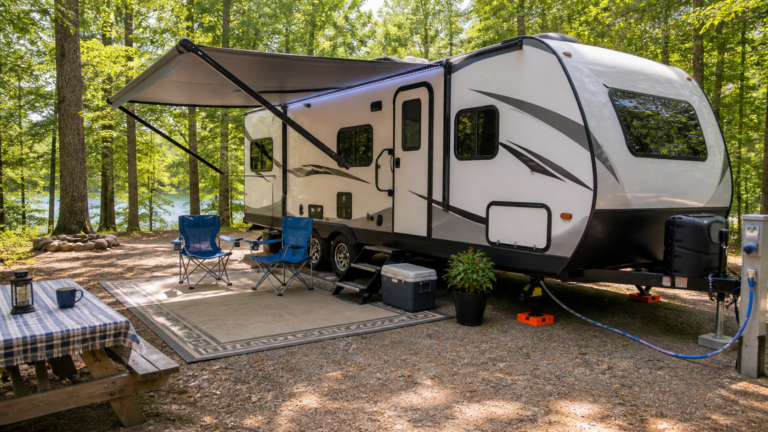
How to set up an RV at a campsite for the first time can feel overwhelming, but it gets much easier when you follow the same simple routine every time you arrive. Instead of trying to do everything at once, focus on a safe order: inspect the site, position the RV, level and secure it, connect utilities, set up your living space, and finish with a few basic safety checks.
This beginner-friendly guide walks you through each step so you can avoid common setup mistakes, reduce stress, and feel more confident at the campsite from the moment you pull in.
1. Before You Arrive, Know What to Check
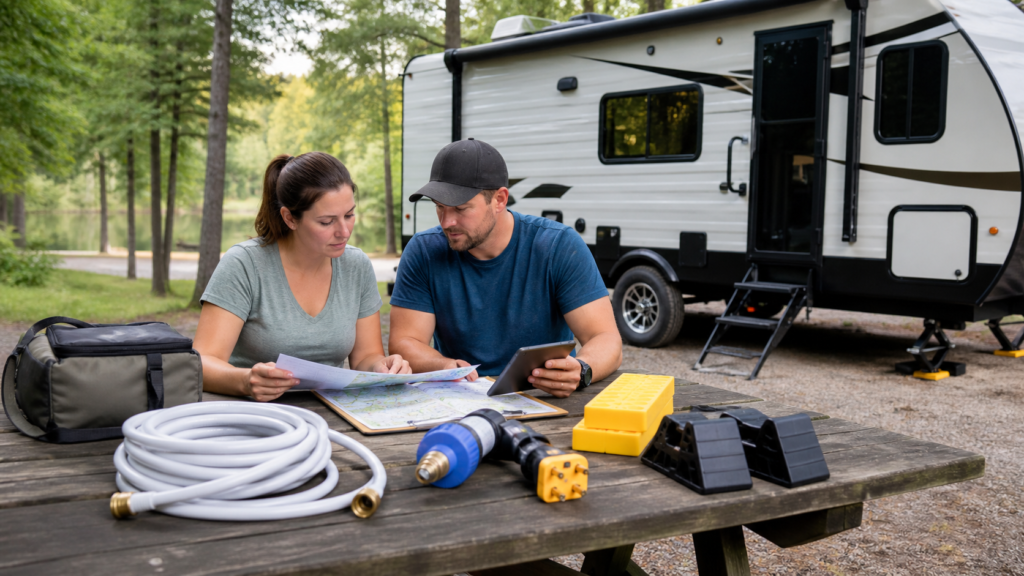
A smooth campsite setup starts before you pull in. A little preparation helps you avoid confusion, forgotten gear, and last-minute mistakes once you arrive. The more you know about the site before check-in, the easier it is to park, connect, and settle in without feeling rushed.
What to Confirm Before Arrival
- Reservation details: Confirm your site number, arrival instructions, check-in time, and any campground rules about pets, generators, fires, or quiet hours.
- Hookup type: Know whether the site has full hookups, partial hookups, or no hookups at all.
- Electrical service: Check whether the site offers 30-amp or 50-amp power so you have the right cord or adapter ready.
- Site fit: Make sure the site is large enough for your RV, tow vehicle, slide-outs, and awning.
- Weather conditions: A windy or rainy arrival can affect when you open the awning or set out gear.
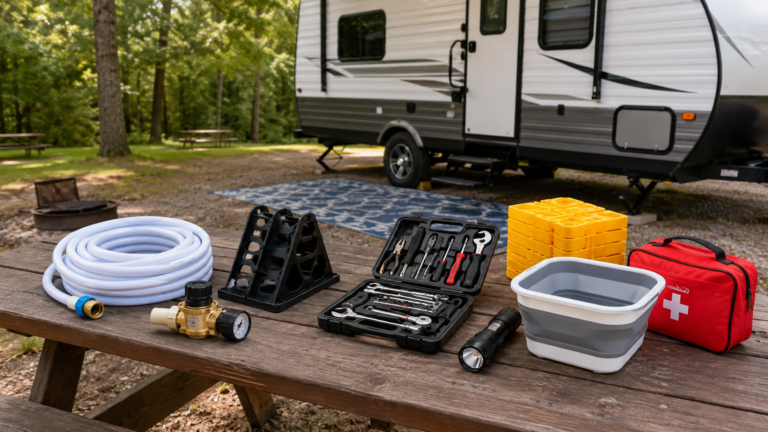
Helpful Gear to Have Easy to Reach
- Freshwater hose
- Water pressure regulator
- RV sewer hose and fittings
- Power cord and any needed adapters
- Surge protector or EMS
- Leveling blocks or ramps
- Wheel chocks
- Flashlight or headlamp
- Basic tool kit and work gloves
Having these items ready before you arrive makes your first setup much more manageable. Digging through compartments for basic gear after parking is one of the easiest ways to make a simple setup feel harder than it needs to be.
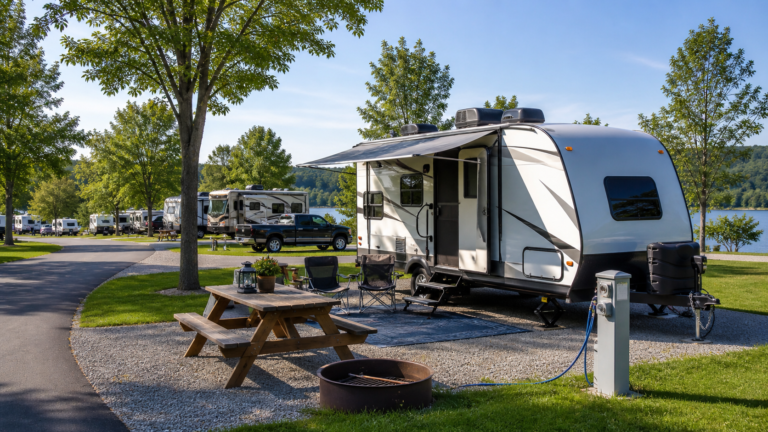
2. Back In, Park, and Get the RV Positioned Correctly
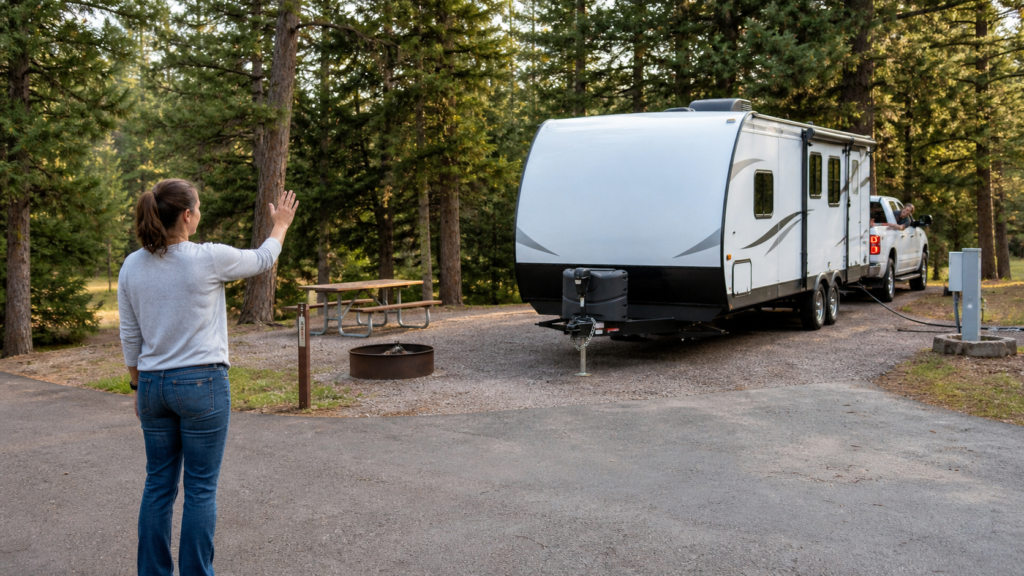
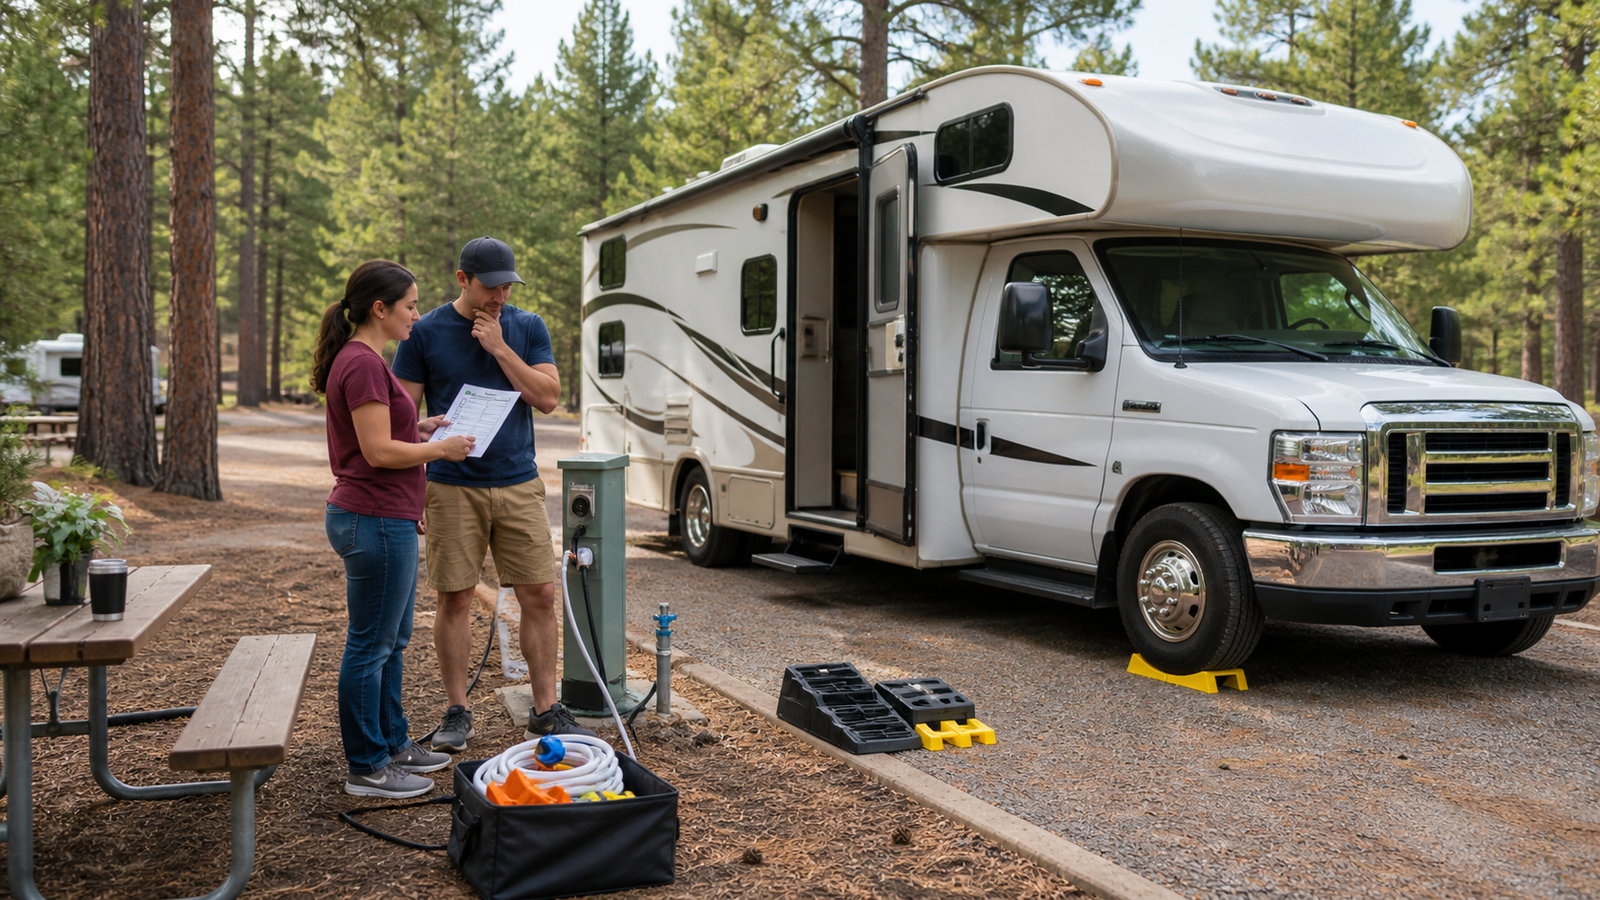
Once you arrive, pause before doing anything else. Take a minute to study the site so you do not have to reposition the RV later. A quick walk-around helps you spot obstacles, understand hookup placement, and decide the best final parking position before you start leveling or unpacking.
What to Look For
- Low branches, rocks, posts, picnic tables, fire rings, or uneven ground
- Hookup locations and whether your hoses and cords will reach comfortably
- Enough clearance for slide-outs and the awning
- The slope of the site and any soft ground under the tires
- Safe walking room around the RV once setup is complete
Parking Basics for Beginners
- Go slowly and use a spotter if possible
- Agree on simple hand signals before backing in
- Center the RV in the site as well as you can
- Position the utility side so hookups are easy to reach
- Leave enough room for stairs, storage doors, and walking paths
There is no prize for backing in quickly. Slow, steady positioning is what makes the rest of the setup easier.
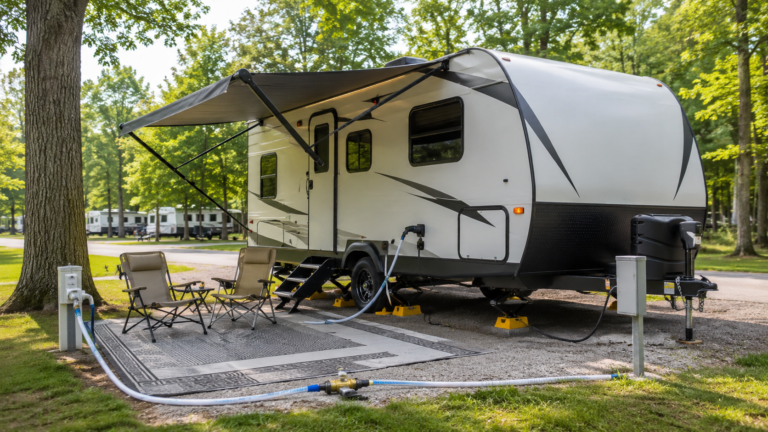
3. Level the RV and Secure It Before Anything Else
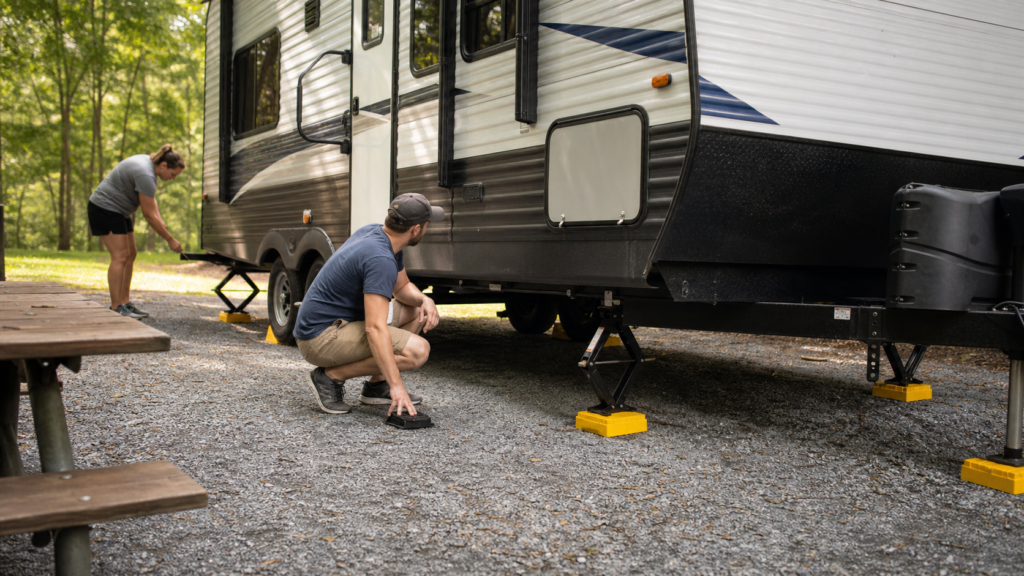
Before you connect utilities or start unpacking, make sure the RV is level and secure. This step matters more than many beginners realize. A properly leveled RV is more comfortable, more stable, and easier on appliances and moving parts.
Why Leveling Matters
- Helps your refrigerator operate properly
- Makes the RV feel more comfortable inside
- Reduces strain on the RV structure and appliances
- Helps doors, drawers, and drains work the way they should
- Creates a more stable feeling when people move around inside
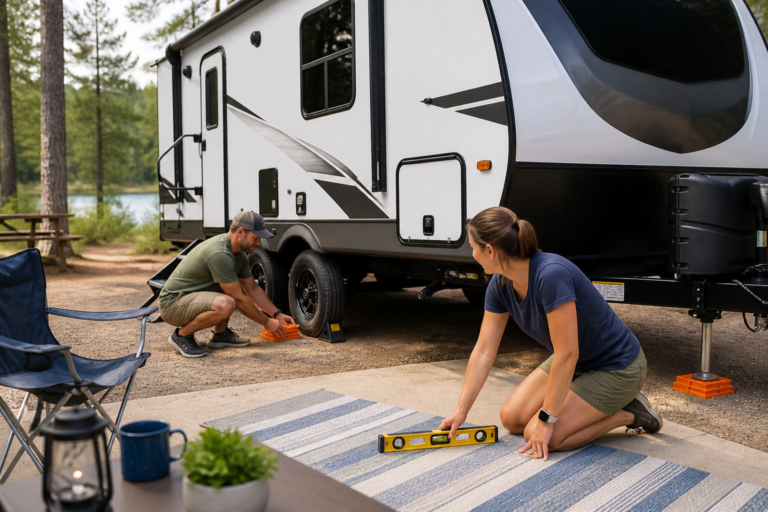
Basic Leveling Steps
- Check level side to side first
- Use leveling blocks or ramps under the low side if needed
- Reposition slowly until the RV is where you want it
- Chock the wheels once the RV is in final position
- Level front to back if your RV setup requires it
- Lower stabilizers only after the RV is level and secured
Stabilizers help reduce movement, but they are not meant to do the main leveling work. Always level first, then stabilize.
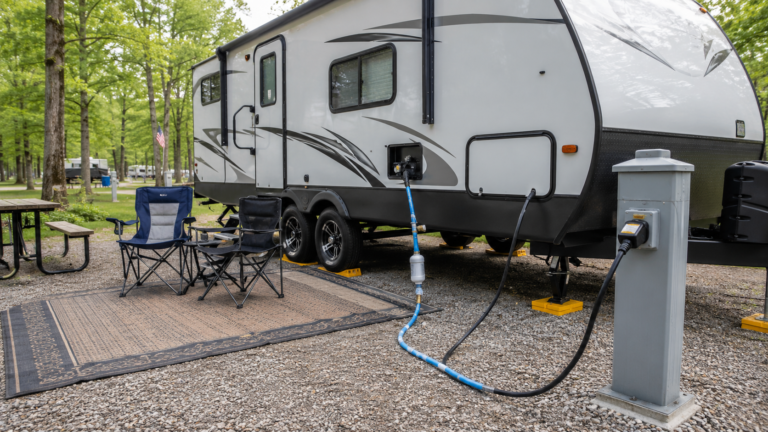
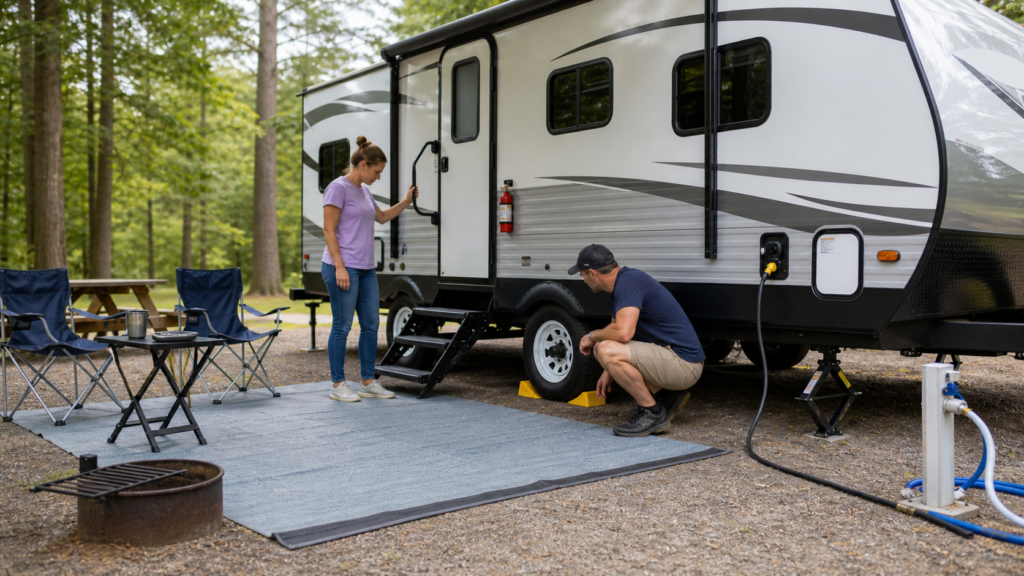
4. Connect Utilities Safely and in the Right Order
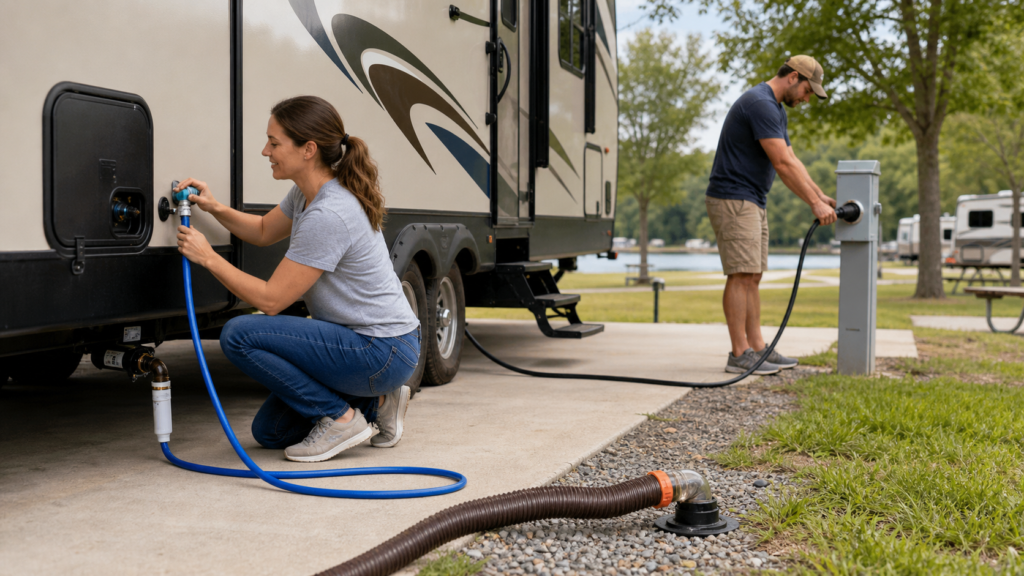
Once the RV is parked, level, and secure, you can connect the campsite utilities. Doing this in a calm, repeatable order helps reduce mistakes and helps you catch problems early before they turn into a bigger mess.
Water Hookup
- Connect your freshwater hose to the campsite spigot
- Use a water pressure regulator to protect your RV plumbing
- Attach the hose to your city water inlet
- Turn the water on slowly and check for leaks
Electrical Hookup
- Check the pedestal rating before plugging in
- Use a surge protector or EMS if you have one
- Plug in the RV power cord securely
- Check inside the RV to confirm power is working normally
Sewer Hookup
- Connect the sewer hose securely to the RV outlet and site inlet
- Make sure fittings are snug and supported properly
- Keep black and gray tank valves closed until you are ready to dump
- When dumping, empty black first, then gray
Take your time here. Rushed hookups are one of the fastest ways to turn a simple campsite setup into a frustrating one.
5. Set Up the Living Space
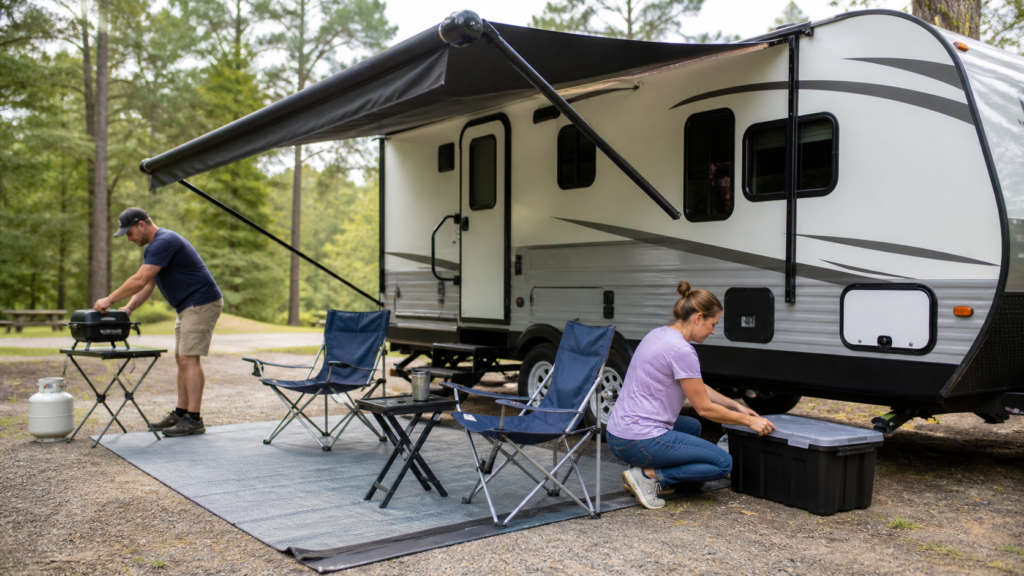
After the essentials are connected, you can make the site more comfortable and functional. This is the point where the campsite starts to feel like home, but it still helps to keep things simple and avoid setting out more than you really need.
What to Do Next
- Extend slide-outs carefully if your RV has them
- Double-check clearance before opening the awning
- Retract the awning if wind picks up
- Open vents if needed for airflow
- Set out only the gear you actually need right away
- Keep cords, hoses, and traffic paths as tidy as possible
Beginners often try to do too much at once. It is better to finish the basic setup first, then add comfort items gradually.
6. Do Not Skip the Safety Basics
A safe campsite setup helps you relax and enjoy the trip instead of worrying about problems you could have caught earlier. Safety checks do not take long, but they are easy to skip when you are eager to start the fun part of the trip.
Important Safety Checks
- Keep a fire extinguisher easy to reach
- Make sure smoke and carbon monoxide alarms are working
- Check propane connections if you are using propane appliances
- Keep walkways clear of cords, hoses, and loose gear
- Make sure steps, stabilizers, and entry areas feel secure
- Look around one last time for anything that could be tripped over or damaged
Good safety habits are part of good campsite setup. They are not an optional extra step.
7. Common First-Time Setup Mistakes to Avoid
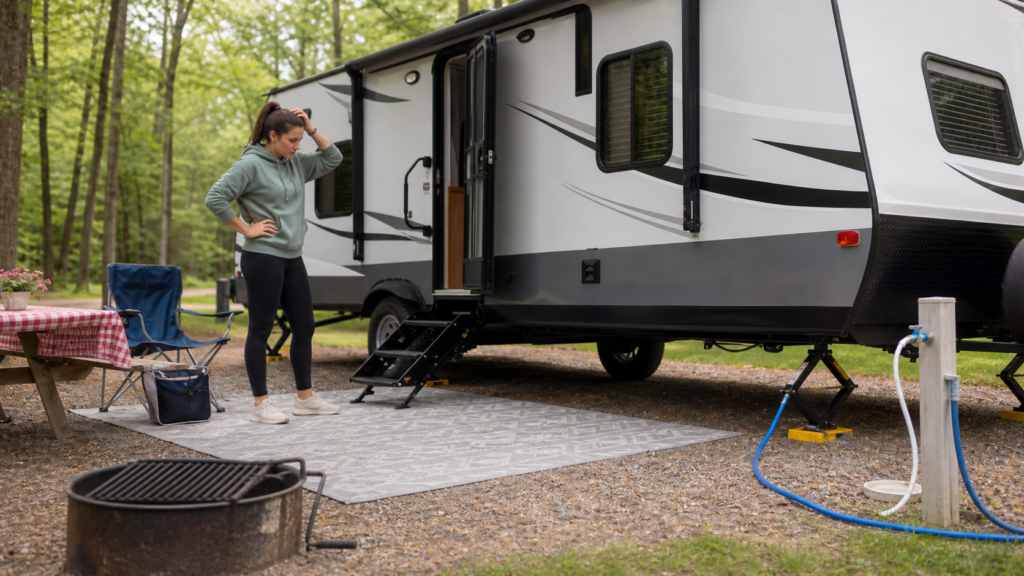
Most beginner mistakes happen when steps are done out of order or too quickly. The good news is that most of them are easy to avoid once you use the same setup routine every time.
- Skipping leveling: This can affect comfort, appliance performance, and overall stability.
- Forgetting wheel chocks: Even a slight slope can allow unwanted movement.
- Not checking clearance first: Slide-outs, stairs, or the awning may not have enough room.
- Plugging in without surge protection: This increases the risk of electrical trouble.
- Rushing hookups: Loose or poorly fitted connections can create leaks or bigger problems later.
- Opening the awning in windy weather: Awnings can be damaged quickly in gusty conditions.
The easiest way to avoid most of these mistakes is to slow down and follow the same order every time you set up.
8. Quick Campsite Setup Checklist for Beginners
Use this quick checklist once you arrive so you can stay focused and avoid missing a basic step.
- Inspect the site before parking
- Back in or pull in carefully
- Position the RV for easy access to hookups
- Level the RV
- Chock the wheels
- Lower stabilizers
- Connect water
- Connect power
- Connect sewer if needed
- Extend slides if applicable
- Open the awning only if weather allows
- Do a final safety check
Frequently Asked Questions
What Should I Do First When I Get to My Campsite?
Start by checking the site layout, obstacles, and hookup locations before you park. That makes the rest of the setup much easier.
Should I Level the RV Before Hooking Up Utilities?
Yes. In most cases, leveling comes before full setup so the RV is stable and your hookups are easier to manage correctly.
Do I Need a Water Pressure Regulator?
Yes. It is a smart beginner item to use because campground water pressure can sometimes be too high for RV plumbing.
When Should I Connect the Sewer Hose?
If you have a sewer hookup and are staying for a while, you can connect it during setup. Just keep your tank valves closed until you are ready to dump.
What Is the Biggest First-Time Campsite Setup Mistake?
Trying to do everything too fast. A slow, simple routine is usually the best way to avoid errors and feel more confident at the site.
Conclusion
Your first RV campsite setup does not need to be perfect. It just needs to be safe, organized, and done in the right order. If you have been wondering how to set up an RV at a campsite for the first time, the key is to follow the same basic routine every time you arrive. Once you learn how to inspect the site, park carefully, level the RV, connect utilities, and check safety items, the process becomes much more manageable and much less stressful.