How to Level an RV for Beginners
How to Level an RV for Beginners
Learning how to level an RV is one of the first campsite setup skills most beginners need to learn. A level RV feels better to walk around in, helps appliances work more predictably, improves drainage, and makes your setup feel safer and more comfortable. The good news is that once you understand the order of the steps, leveling becomes much easier and less stressful.
What Leveling Means and Why It Matters
Leveling an RV means getting it as close to flat and stable as possible after you park. For most beginners, that means checking two directions and correcting whichever side or end sits low.
- Front to back: Whether the RV is tilted forward or backward
- Side to side: Whether one side sits lower than the other
Even a small tilt can make a noticeable difference during your stay. A level RV helps with everyday comfort and keeps your campsite setup working more normally.
- Comfort: Walking, sleeping, and cooking feel more natural
- Appliance performance: Some RV systems work better when the RV is reasonably level
- Drainage: Sinks and showers drain more predictably
- Stability: Proper leveling supports a steadier campsite setup
You do not need perfection. You need a setup that is safe, stable, and level enough for normal use.
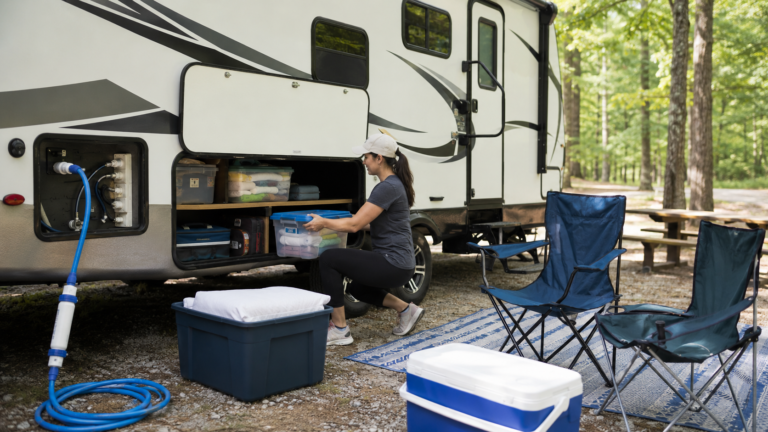
What You Need Before You Start
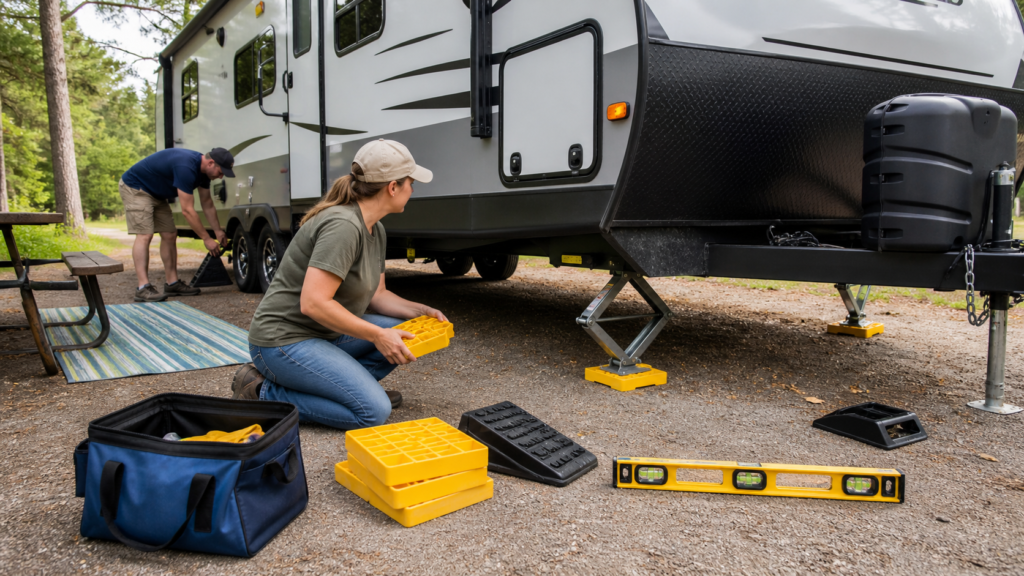
Having the right gear makes leveling faster and much less frustrating.
- Bubble level or RV level: Used to check front-to-back and side-to-side tilt
- Leveling blocks or ramps: Used to raise the low side when needed
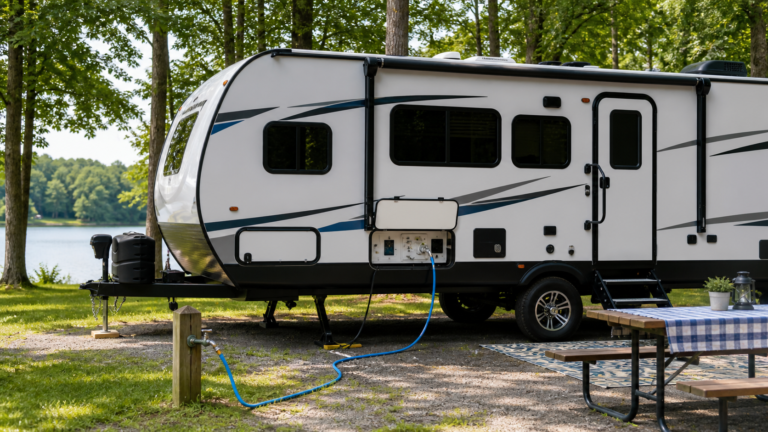
- Wheel chocks: Help prevent unwanted movement once the RV is in position
- Stabilizer jacks: Reduce movement after leveling, but do not do the main leveling work
- A helper if available: Useful when backing onto blocks or checking adjustments
For most beginners, a basic bubble level, a set of leveling blocks, and solid wheel chocks are enough to get started.
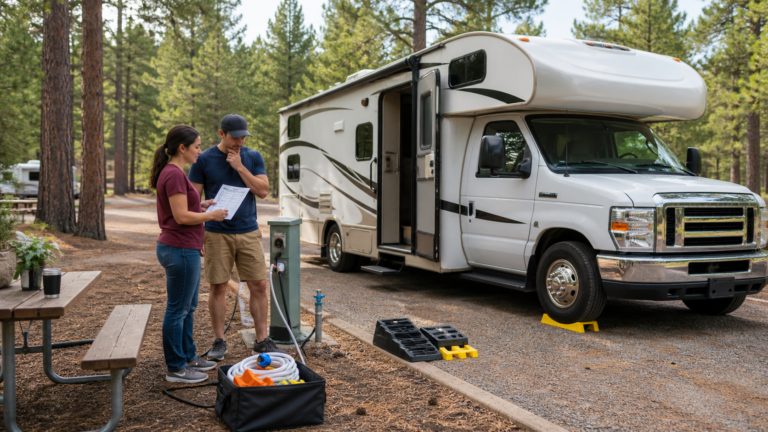
How to Check Whether Your RV Is Level
Before you start adjusting anything, check how the RV is sitting after you park.
- Park in the campsite where you want the RV to stay.
- Set the parking brake if applicable and keep the RV secure.
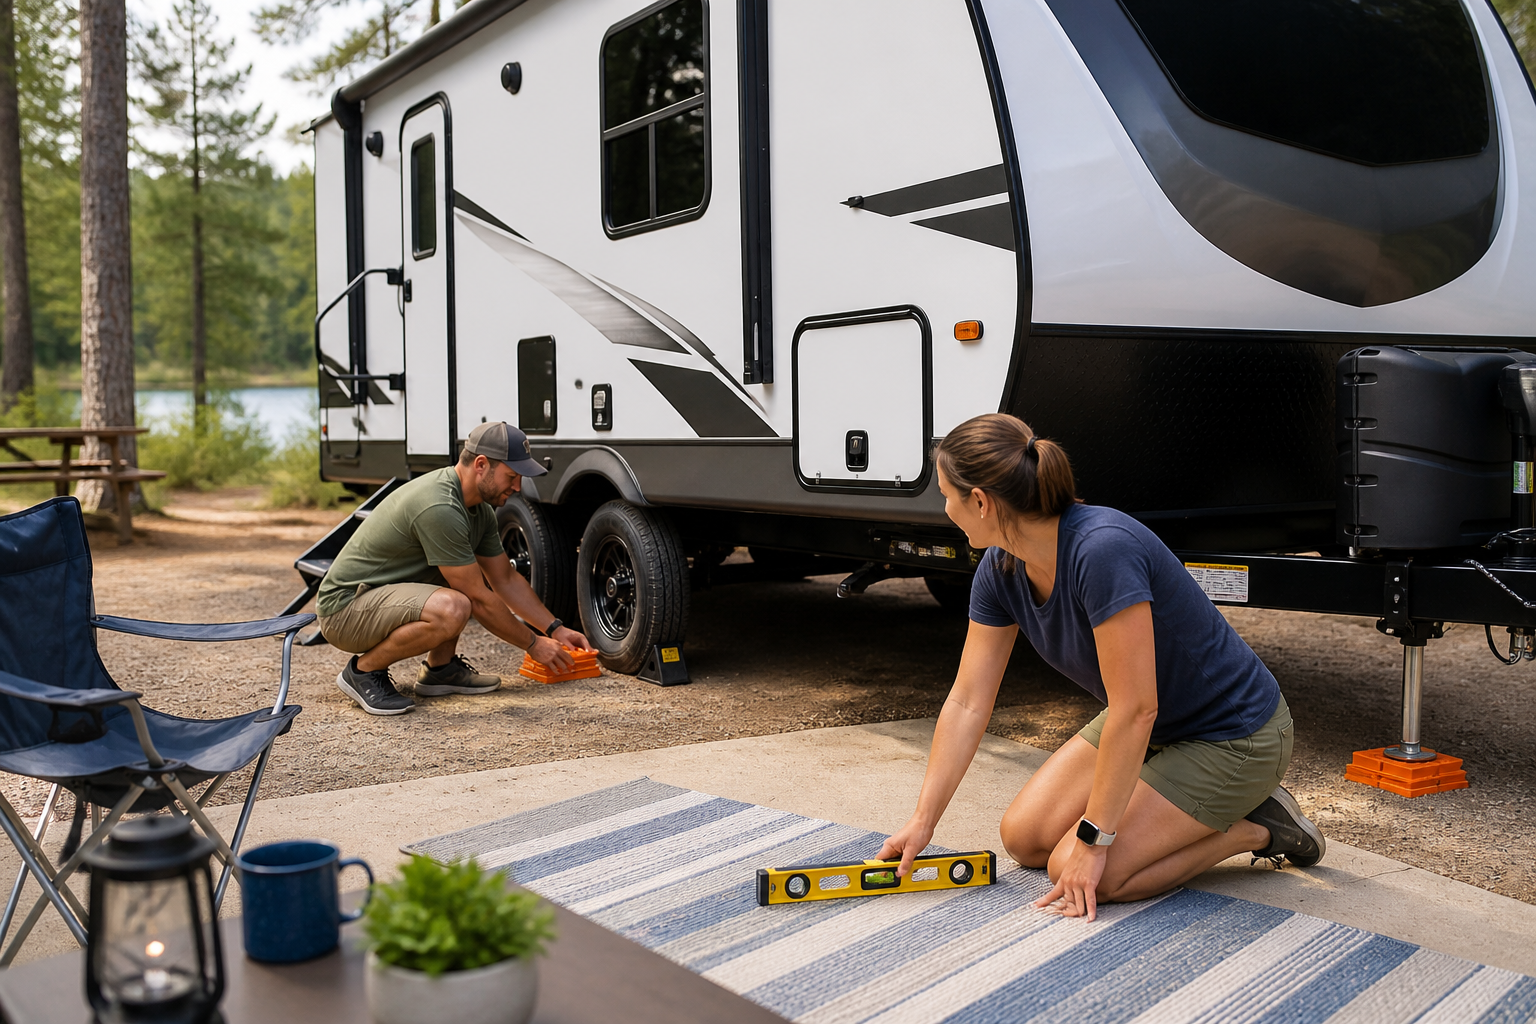
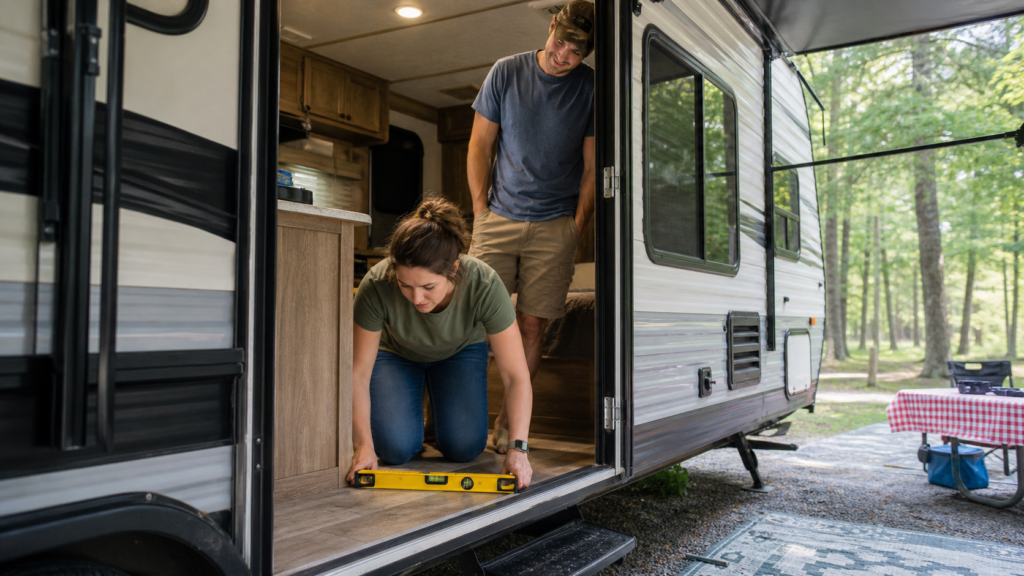
- Place a level on a flat surface inside the RV, such as the floor, counter, or another solid interior surface.
- Check front to back first, then side to side.
- Identify which side or end is low so you know where adjustments are needed.
Do not assume the ground outside tells the whole story. Check the level inside the RV where you will actually feel the difference.
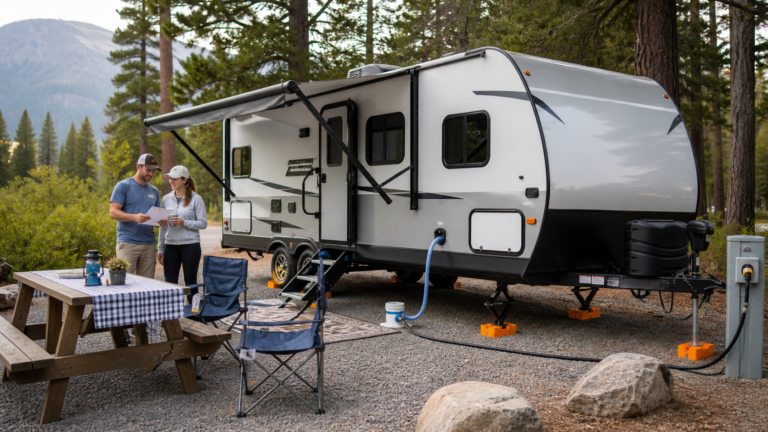
How to Level an RV Step by Step
This is the simplest leveling routine for most beginner RV campers.
- Pick the best position in the campsite. Try to park on the flattest area available.
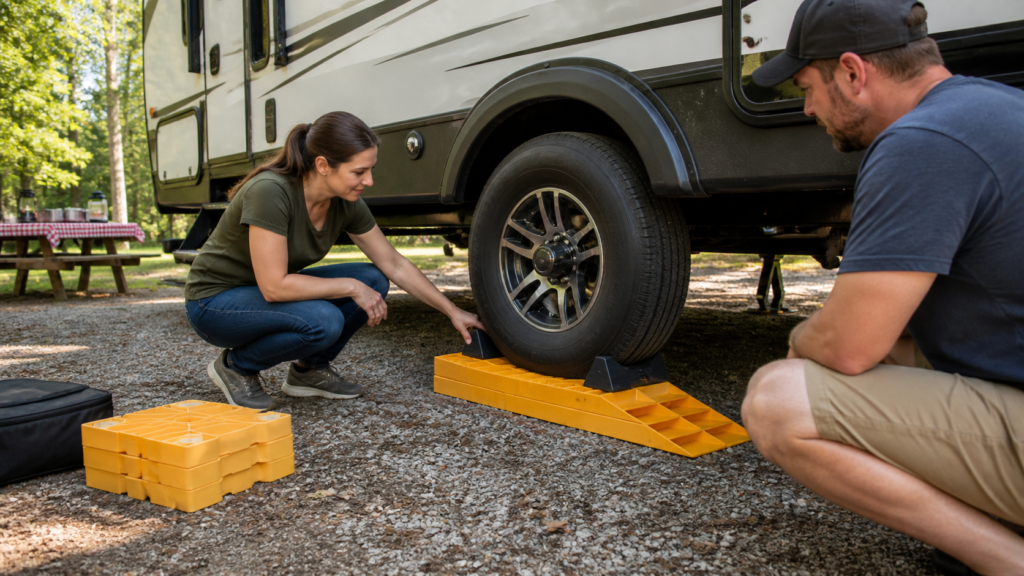
- Check side-to-side level first. If one side is low, place leveling blocks or ramps where needed.
- Pull or back onto the blocks carefully. Move slowly and recheck the level after positioning.
- Chock the wheels. Once the RV is where it needs to be, secure it before continuing.
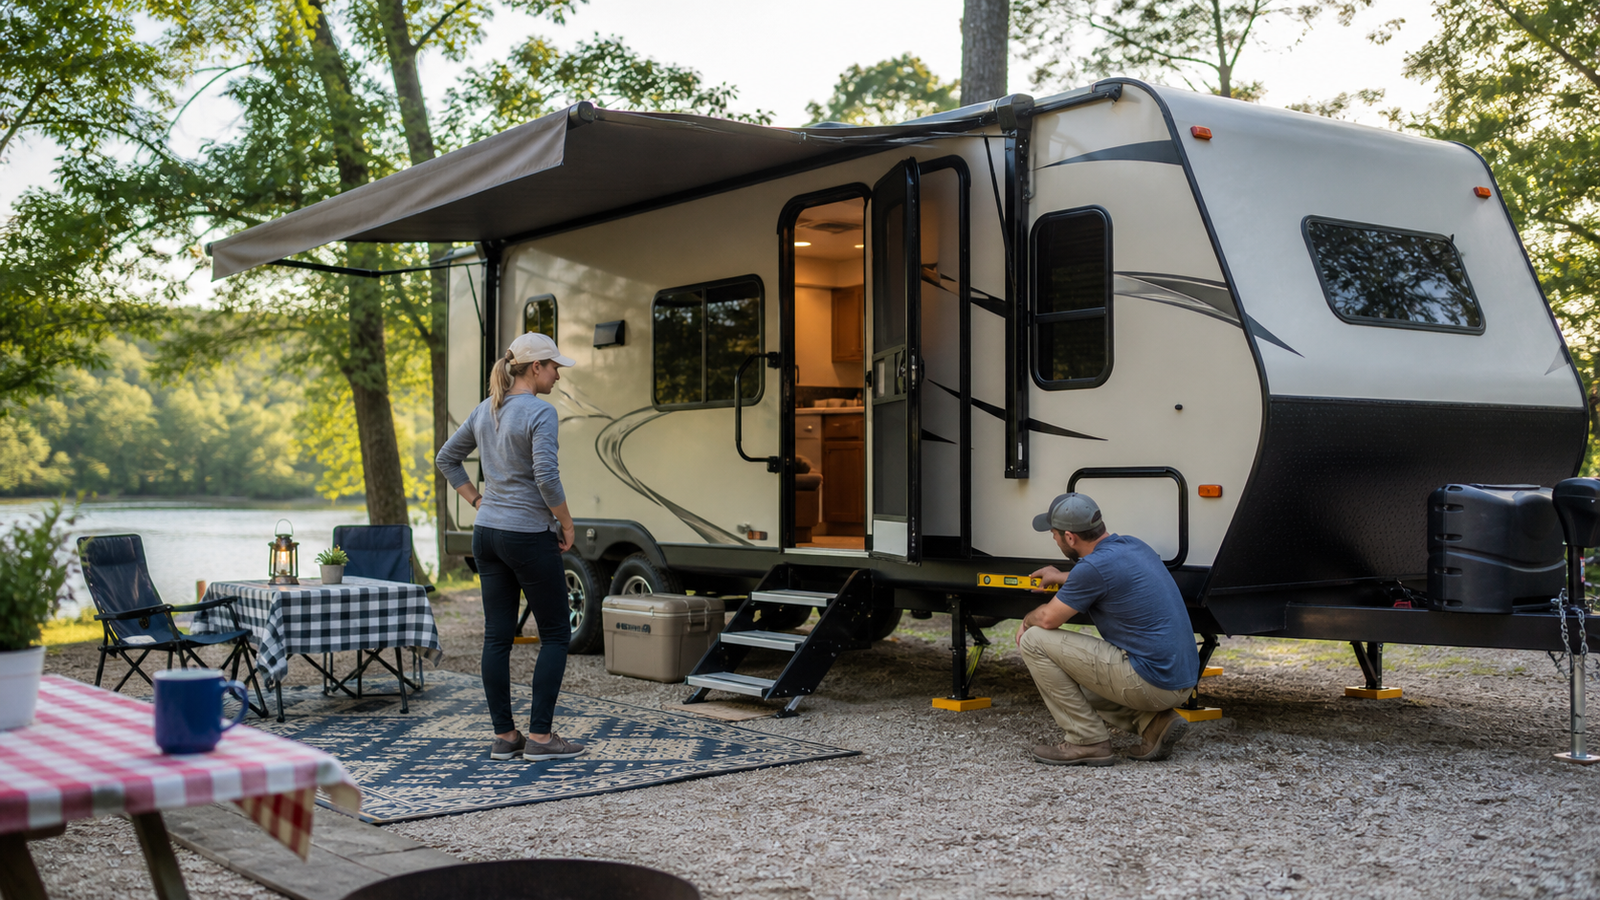
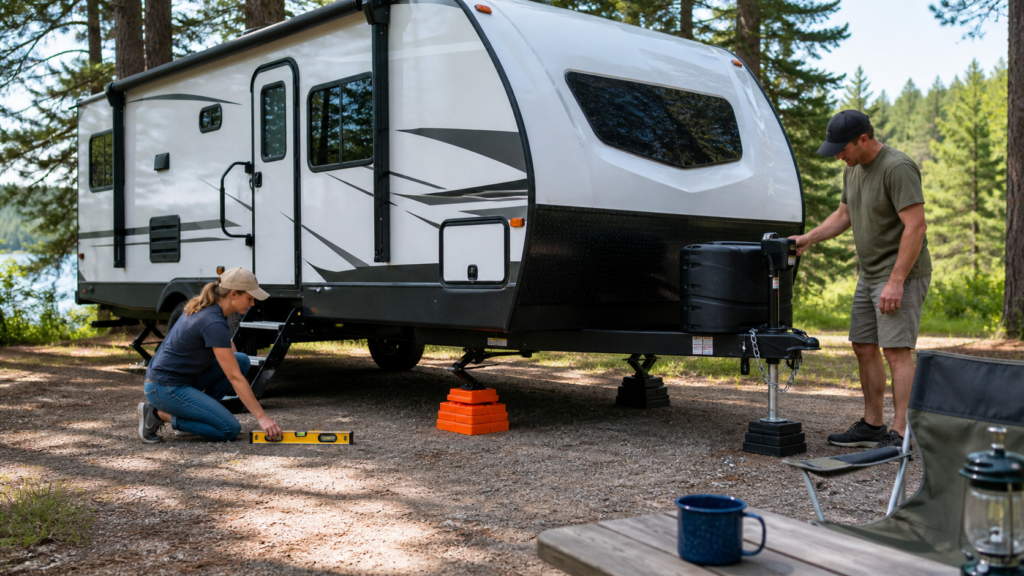
- Adjust front-to-back level next. Use the tongue jack or your RV’s leveling system, depending on your setup.
- Recheck both directions. Small changes can affect the overall result.
- Lower stabilizers after leveling is done. Stabilizers help reduce movement but should not replace proper leveling.
Take your time and make small corrections. Small adjustments are usually easier and safer than trying to fix everything at once.
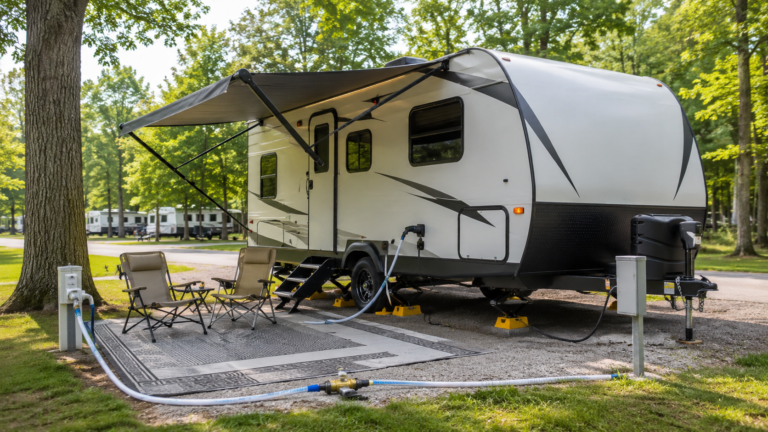
How to Use Leveling Blocks Safely and Effectively
Leveling blocks are one of the most common tools beginners use, but they work best when used carefully and on suitable ground.
- Use sturdy blocks designed for RV weight whenever possible
- Build height gradually instead of trying to correct a big tilt all at once
- Keep the blocks stable and aligned so the tire sits securely
- Avoid unstable stacking on soft or muddy ground without added support
- Recheck after the RV settles because the final position may shift slightly
If the site slope is too severe for a safe block setup, it is usually smarter to reposition the RV or ask for a different campsite.
How Level Is Good Enough?
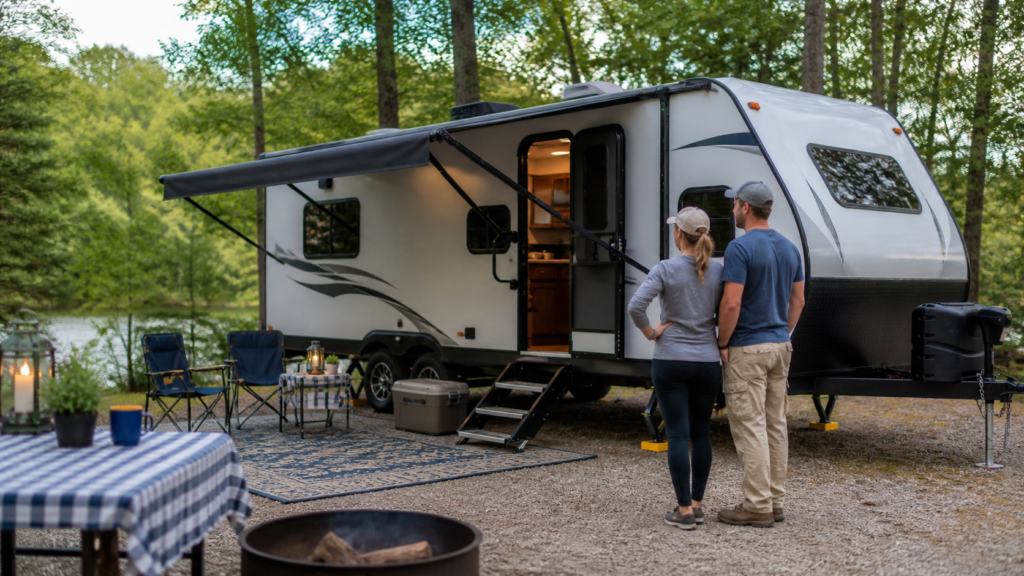
Beginners often waste time chasing a perfect result that is not necessary. In real campsite conditions, the goal is a setup that feels stable and functions normally.
- If the RV feels comfortable inside, you are probably close enough
- If doors, drawers, and sinks are behaving normally, that is a good sign
- If the RV feels steady and secure, the setup is likely good enough for a normal stay
Reasonably level is the goal. Obsessing over tiny differences usually is not worth the extra time.
Common Beginner Leveling Mistakes

Most leveling problems happen when beginners rush the process or mix up the order of the steps.
- Skipping the level check: Always check before and after adjustments
- Not using wheel chocks: The RV should be secured before you continue setup
- Using stabilizers to do the main leveling: They are for reducing movement, not replacing blocks or proper adjustment
- Overcorrecting: Small changes are easier to manage than big ones
- Ignoring unsafe ground conditions: Mud, loose gravel, or extreme slopes can make leveling harder and less safe
The easiest way to avoid these mistakes is to use the same simple routine every time you set up camp.
Quick RV Leveling Checklist for Beginners
- Park on the flattest part of the site possible
- Check side-to-side level
- Use leveling blocks or ramps if needed
- Move the RV into position carefully
- Chock the wheels
- Adjust front-to-back level
- Recheck both directions
- Lower stabilizers after leveling
- Do one final level and stability check
Frequently Asked Questions
Do I level side to side or front to back first?
In most cases, side to side comes first, then front to back.
Can I use stabilizer jacks to level my RV?
No. Stabilizers are meant to reduce movement after leveling, not do the main leveling work.
How level does my RV need to be?
It should feel stable and function normally. You do not need absolute perfection.
What if the campsite slope is too steep?
Try repositioning the RV first. If the slope still looks unsafe or extreme, choose a different site if possible.
Is leveling harder with a travel trailer?
It can feel tricky at first, but once you learn the order of side-to-side adjustment, chocking, and front-to-back leveling, it becomes much easier.
Conclusion
Leveling an RV is one of those beginner tasks that feels harder before you know the routine. Once you learn how to check the level, use blocks correctly, secure the RV, and make small adjustments, the whole process becomes much more manageable.
You do not need a perfect result. You just need a setup that is safe, steady, and comfortable enough to enjoy your campsite with confidence.